
The setup wizard runs once, the first time you launch ScanLister. It covers four things: a theme, your Amazon connection, your pricing rules, and — if you use one — a thermal label printer. About two minutes, and everything in it stays editable afterwards in Settings.
Prefer to watch? There's a full video walkthrough at the end of this article.
You need the login for the Amazon seller account you list from — you'll sign in through Amazon's own page, not ours. If you use a thermal label printer, have it connected and installed; that step is optional.
The opening screen lists what's ahead. The rail on the left tracks your progress and doubles as a menu, so you can jump between steps in any order. Click Next to begin.
.png)
Closing the window with Finish later or the X keeps your progress, but it won't reopen on its own. Re-launch it from Settings → Welcome.
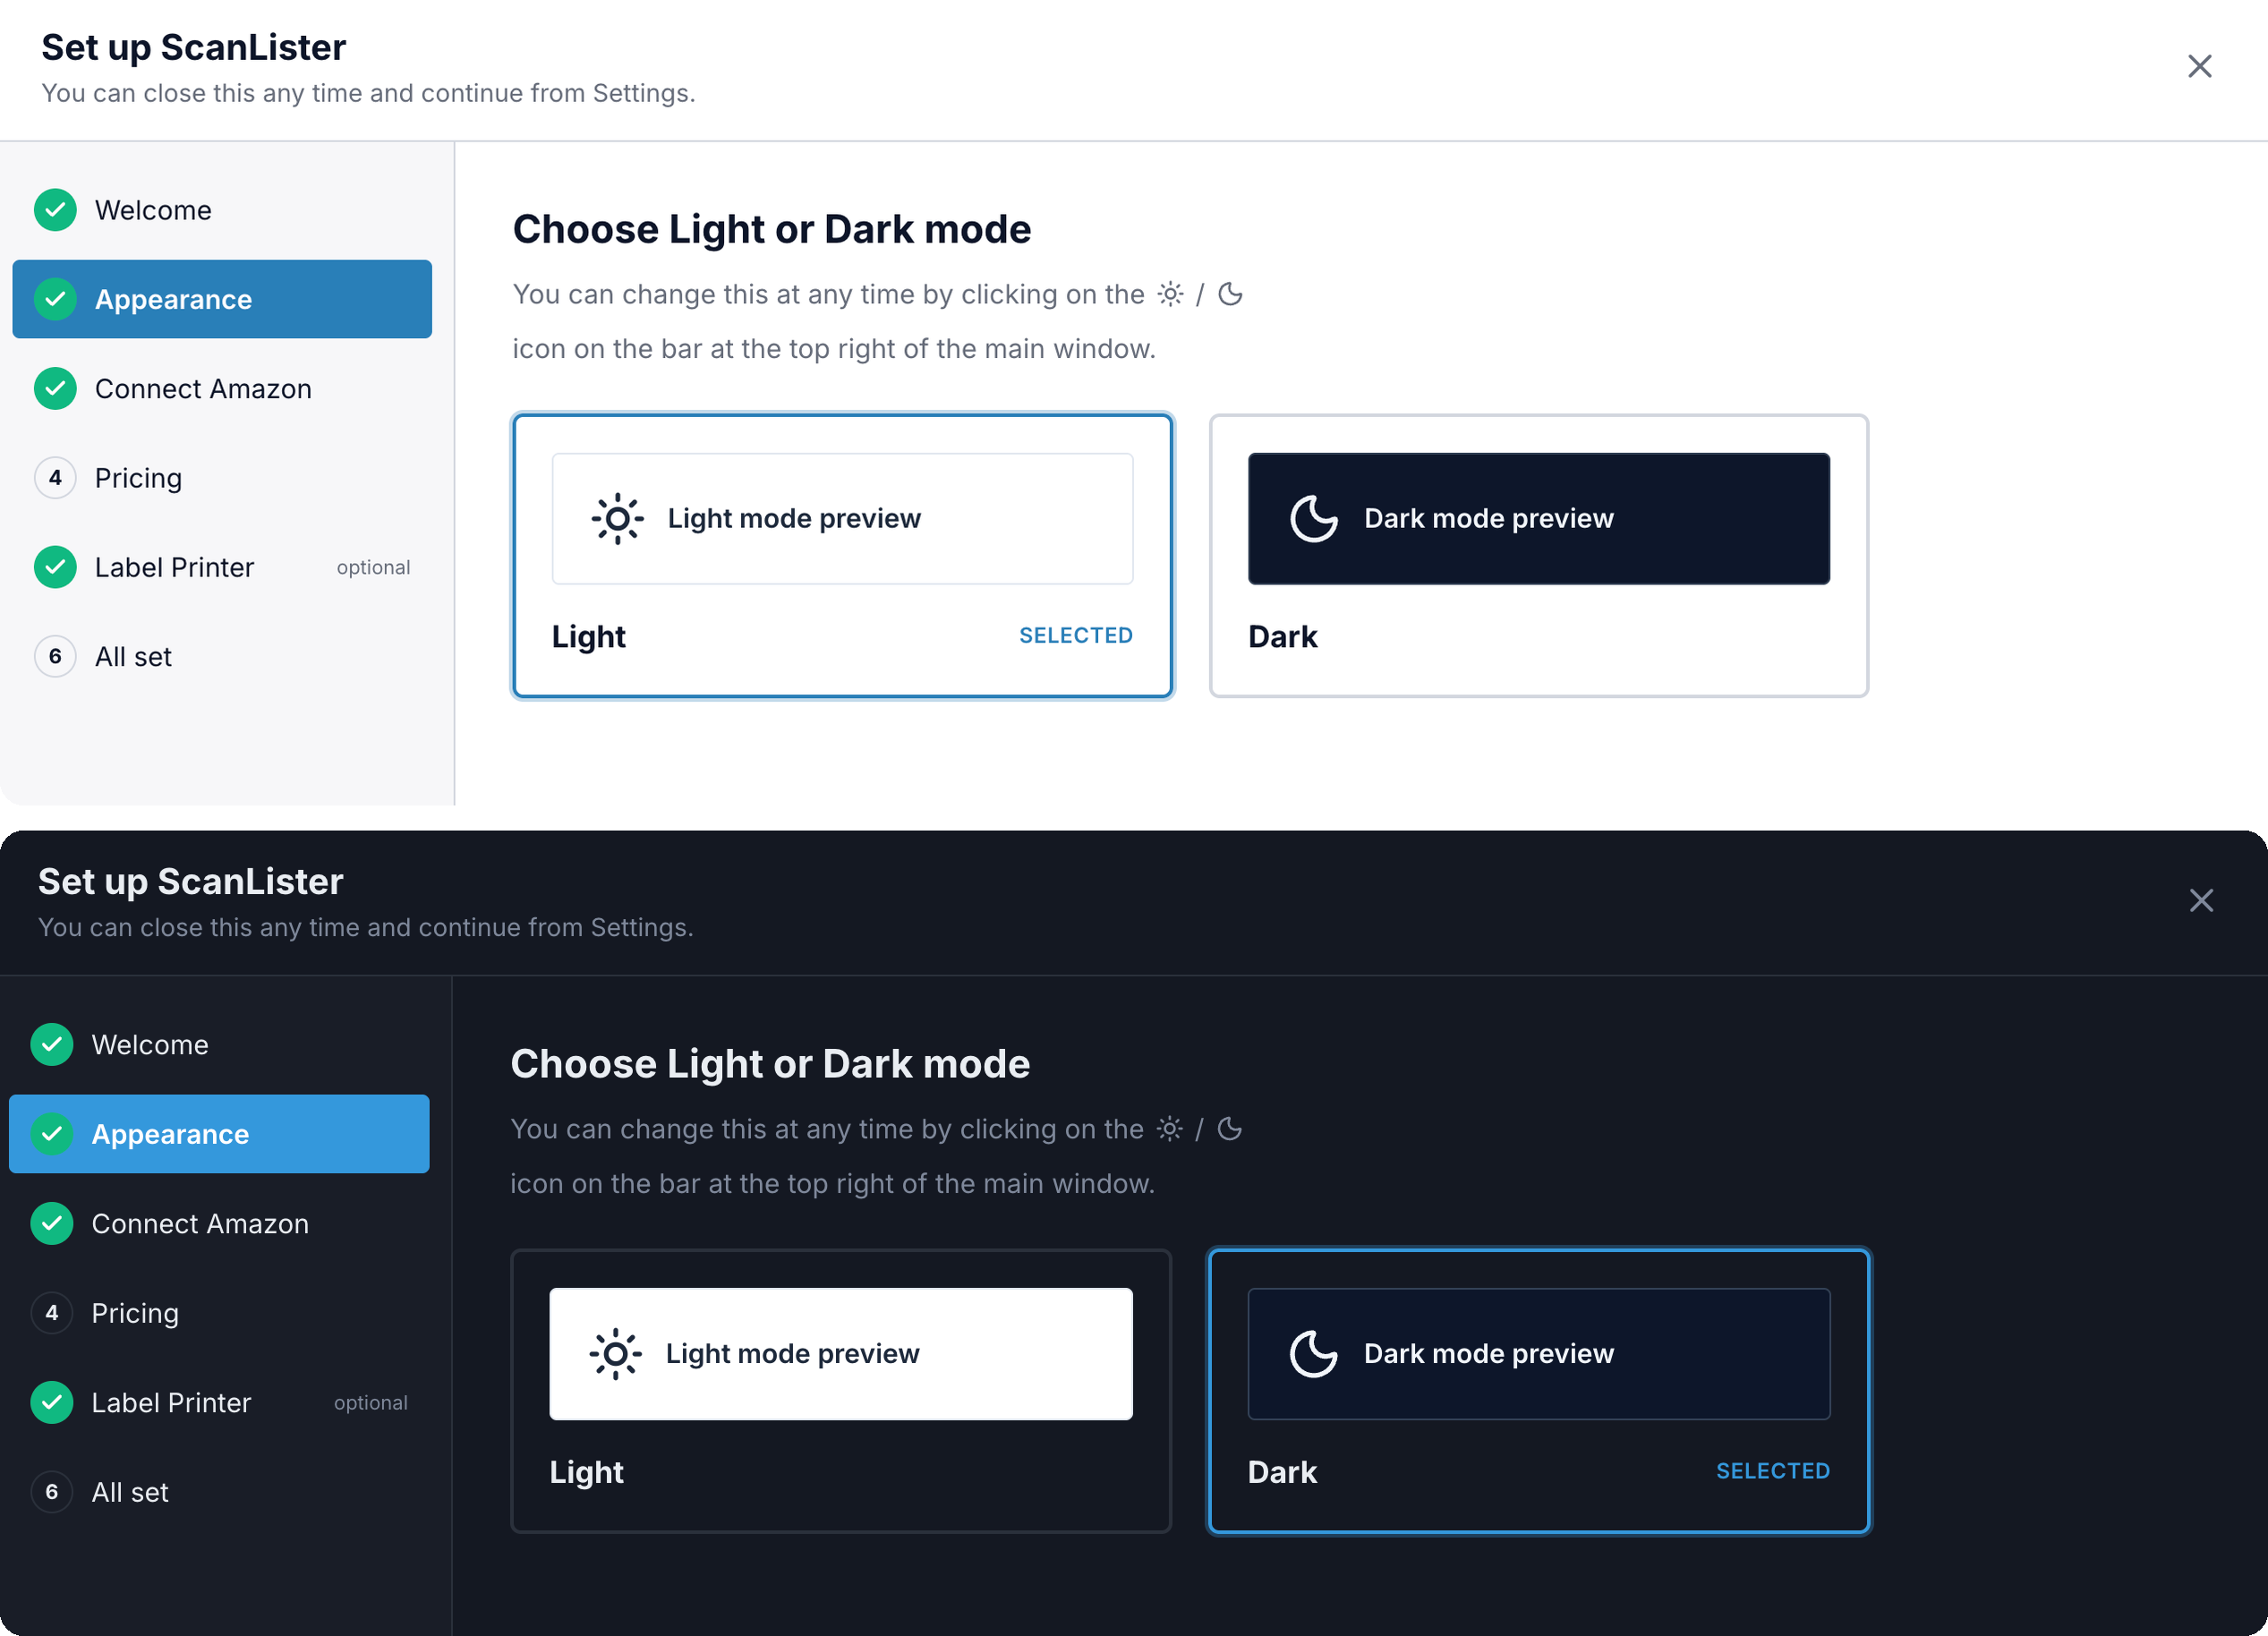
Click a card and the whole app switches instantly. You can flip between modes any time using the sun and moon icon at the top right of the main window.
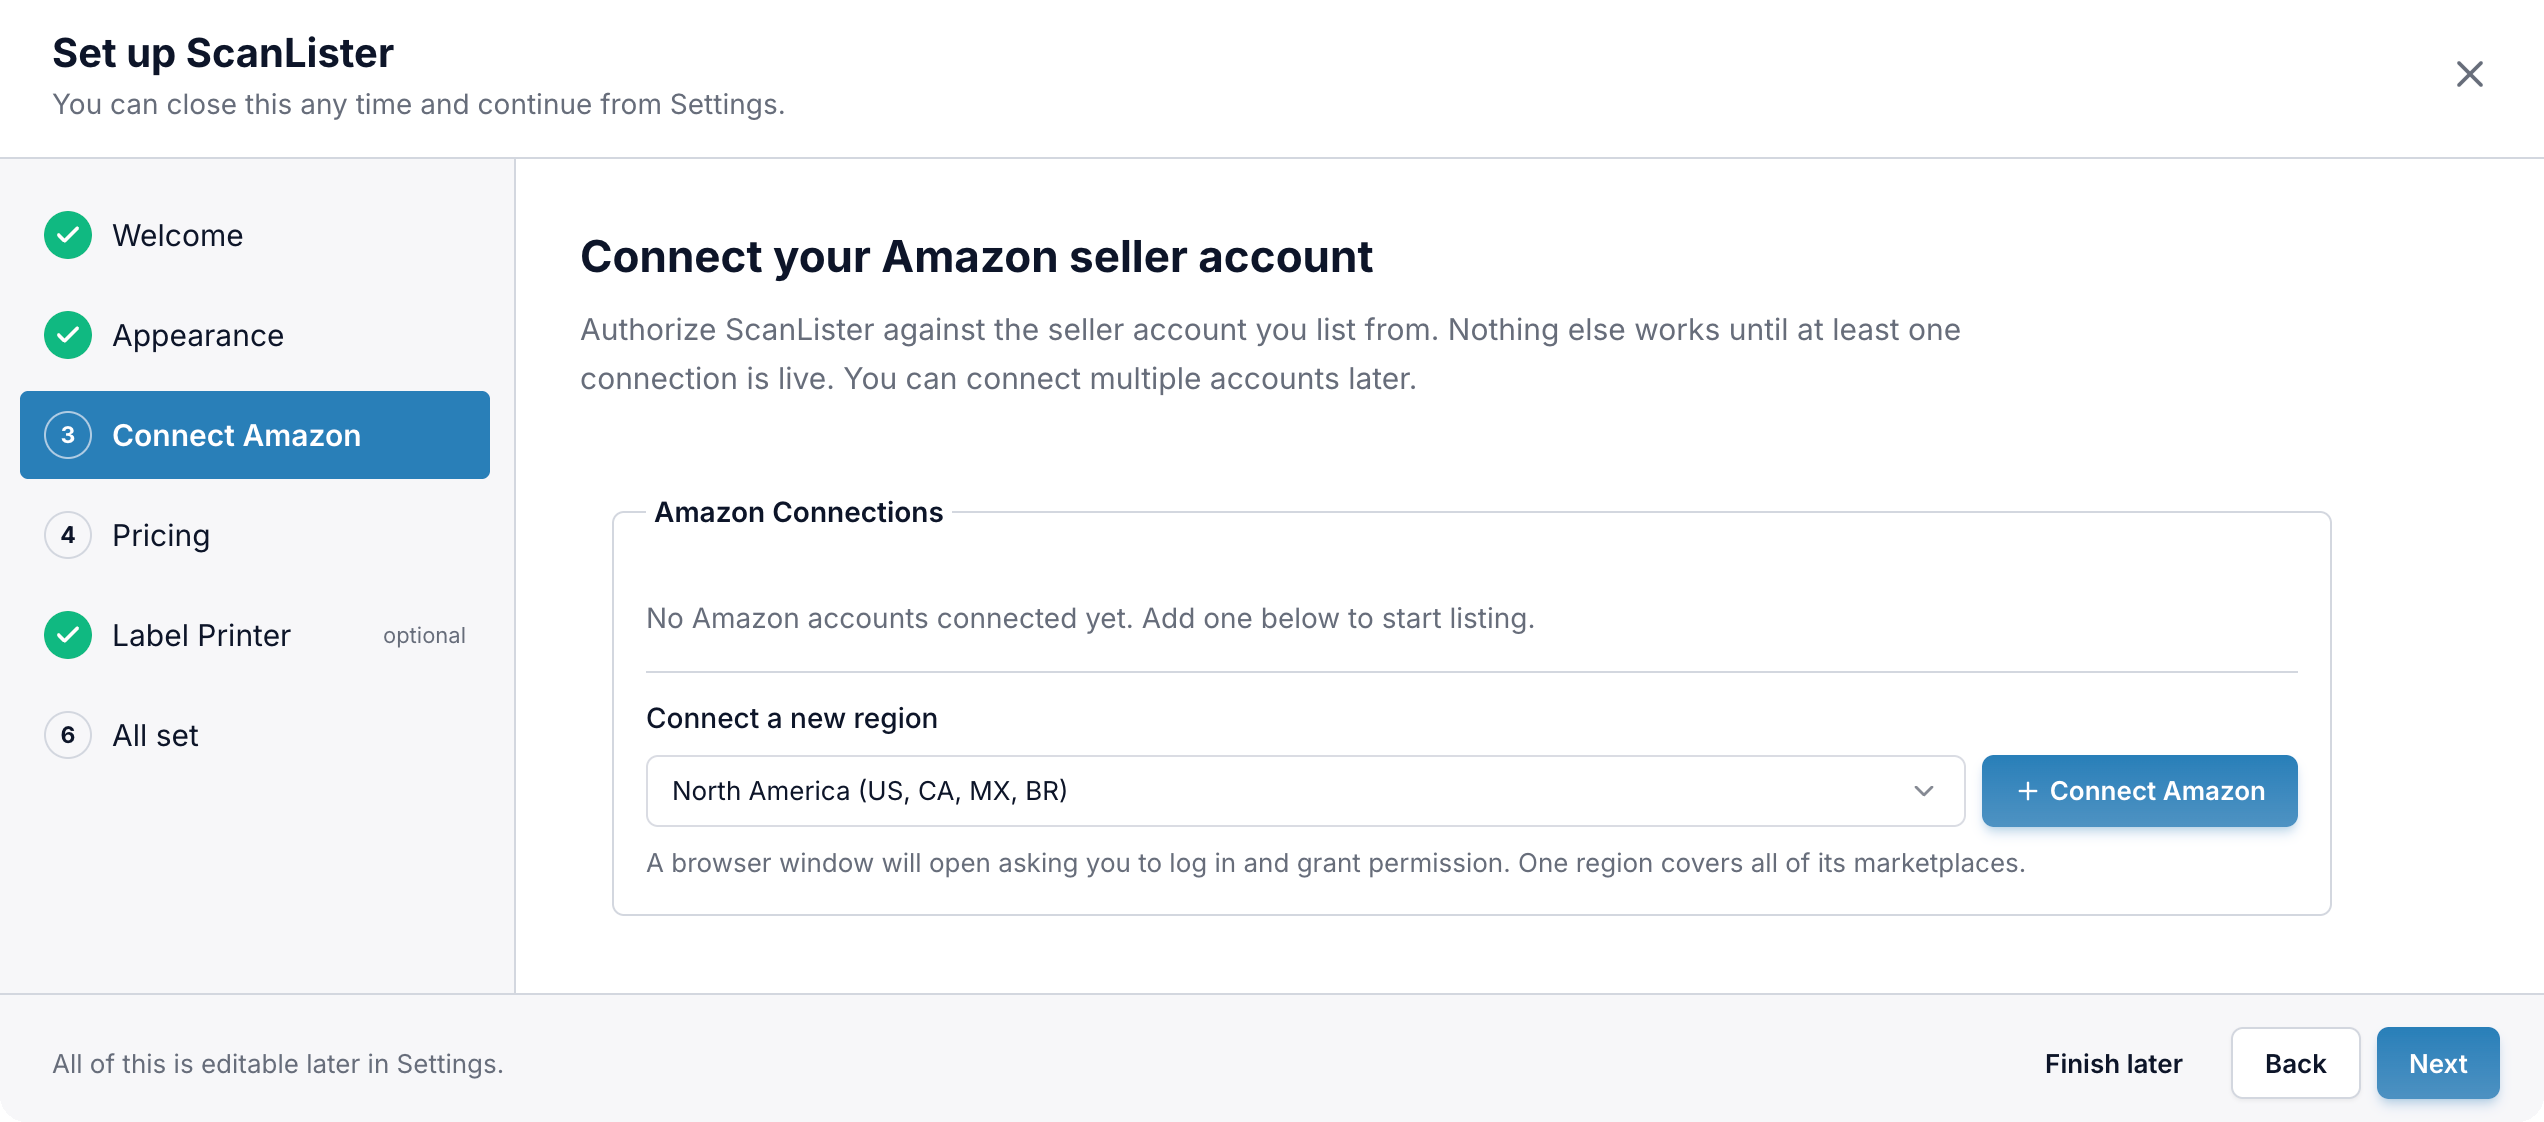
This is the one step you can't skip — nothing else works until a connection is live.
Choose your region and click + Connect Amazon. One region covers all of its marketplaces, so North America connects the US, Canada, Mexico and Brazil in a single authorization.
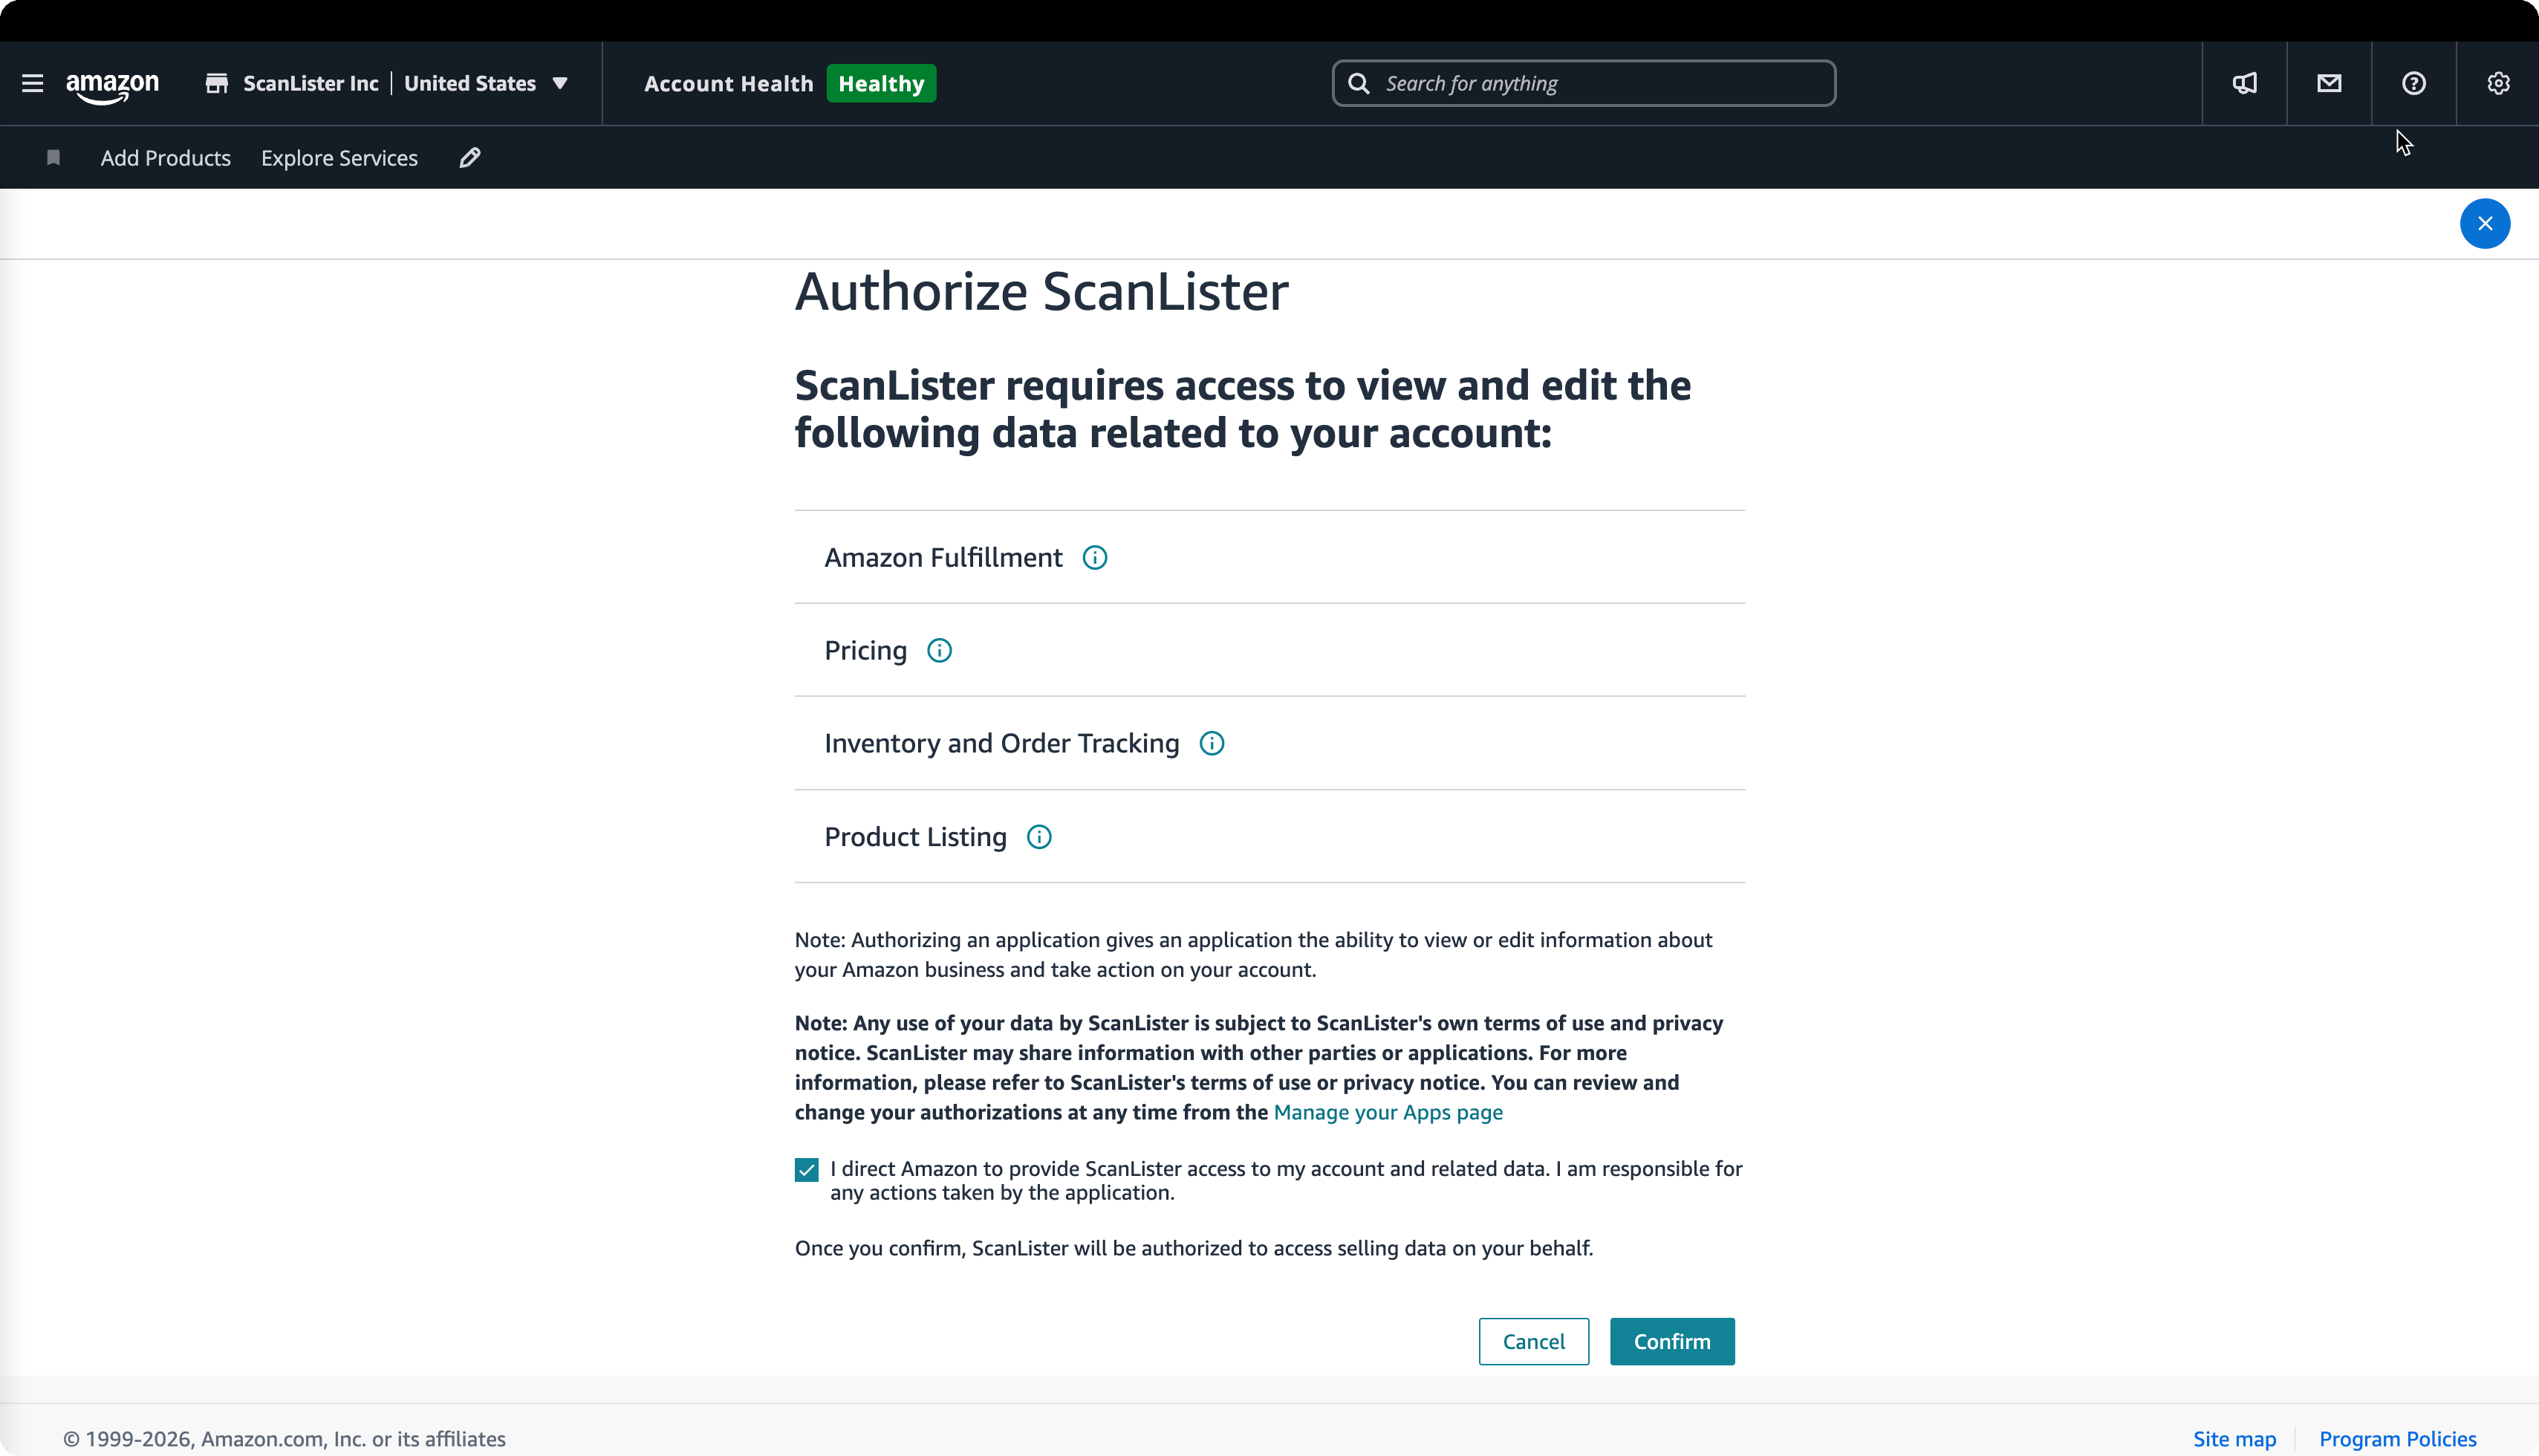
A browser window opens on Amazon's own page. If your business has storefronts in several countries, Amazon asks you to choose one first — pick the account you list from and click Select account.
Then review the four permissions ScanLister asks for — Fulfillment, Pricing, Inventory and Order Tracking, and Product Listing — tick the confirmation box, and click Confirm. Amazon returns you to ScanLister automatically.
Back in ScanLister, click Test to verify the connection. Each marketplace has its own unit of measure toggle, so US and Canadian listings can use pounds and inches while Mexico and Brazil use kilograms and centimetres.
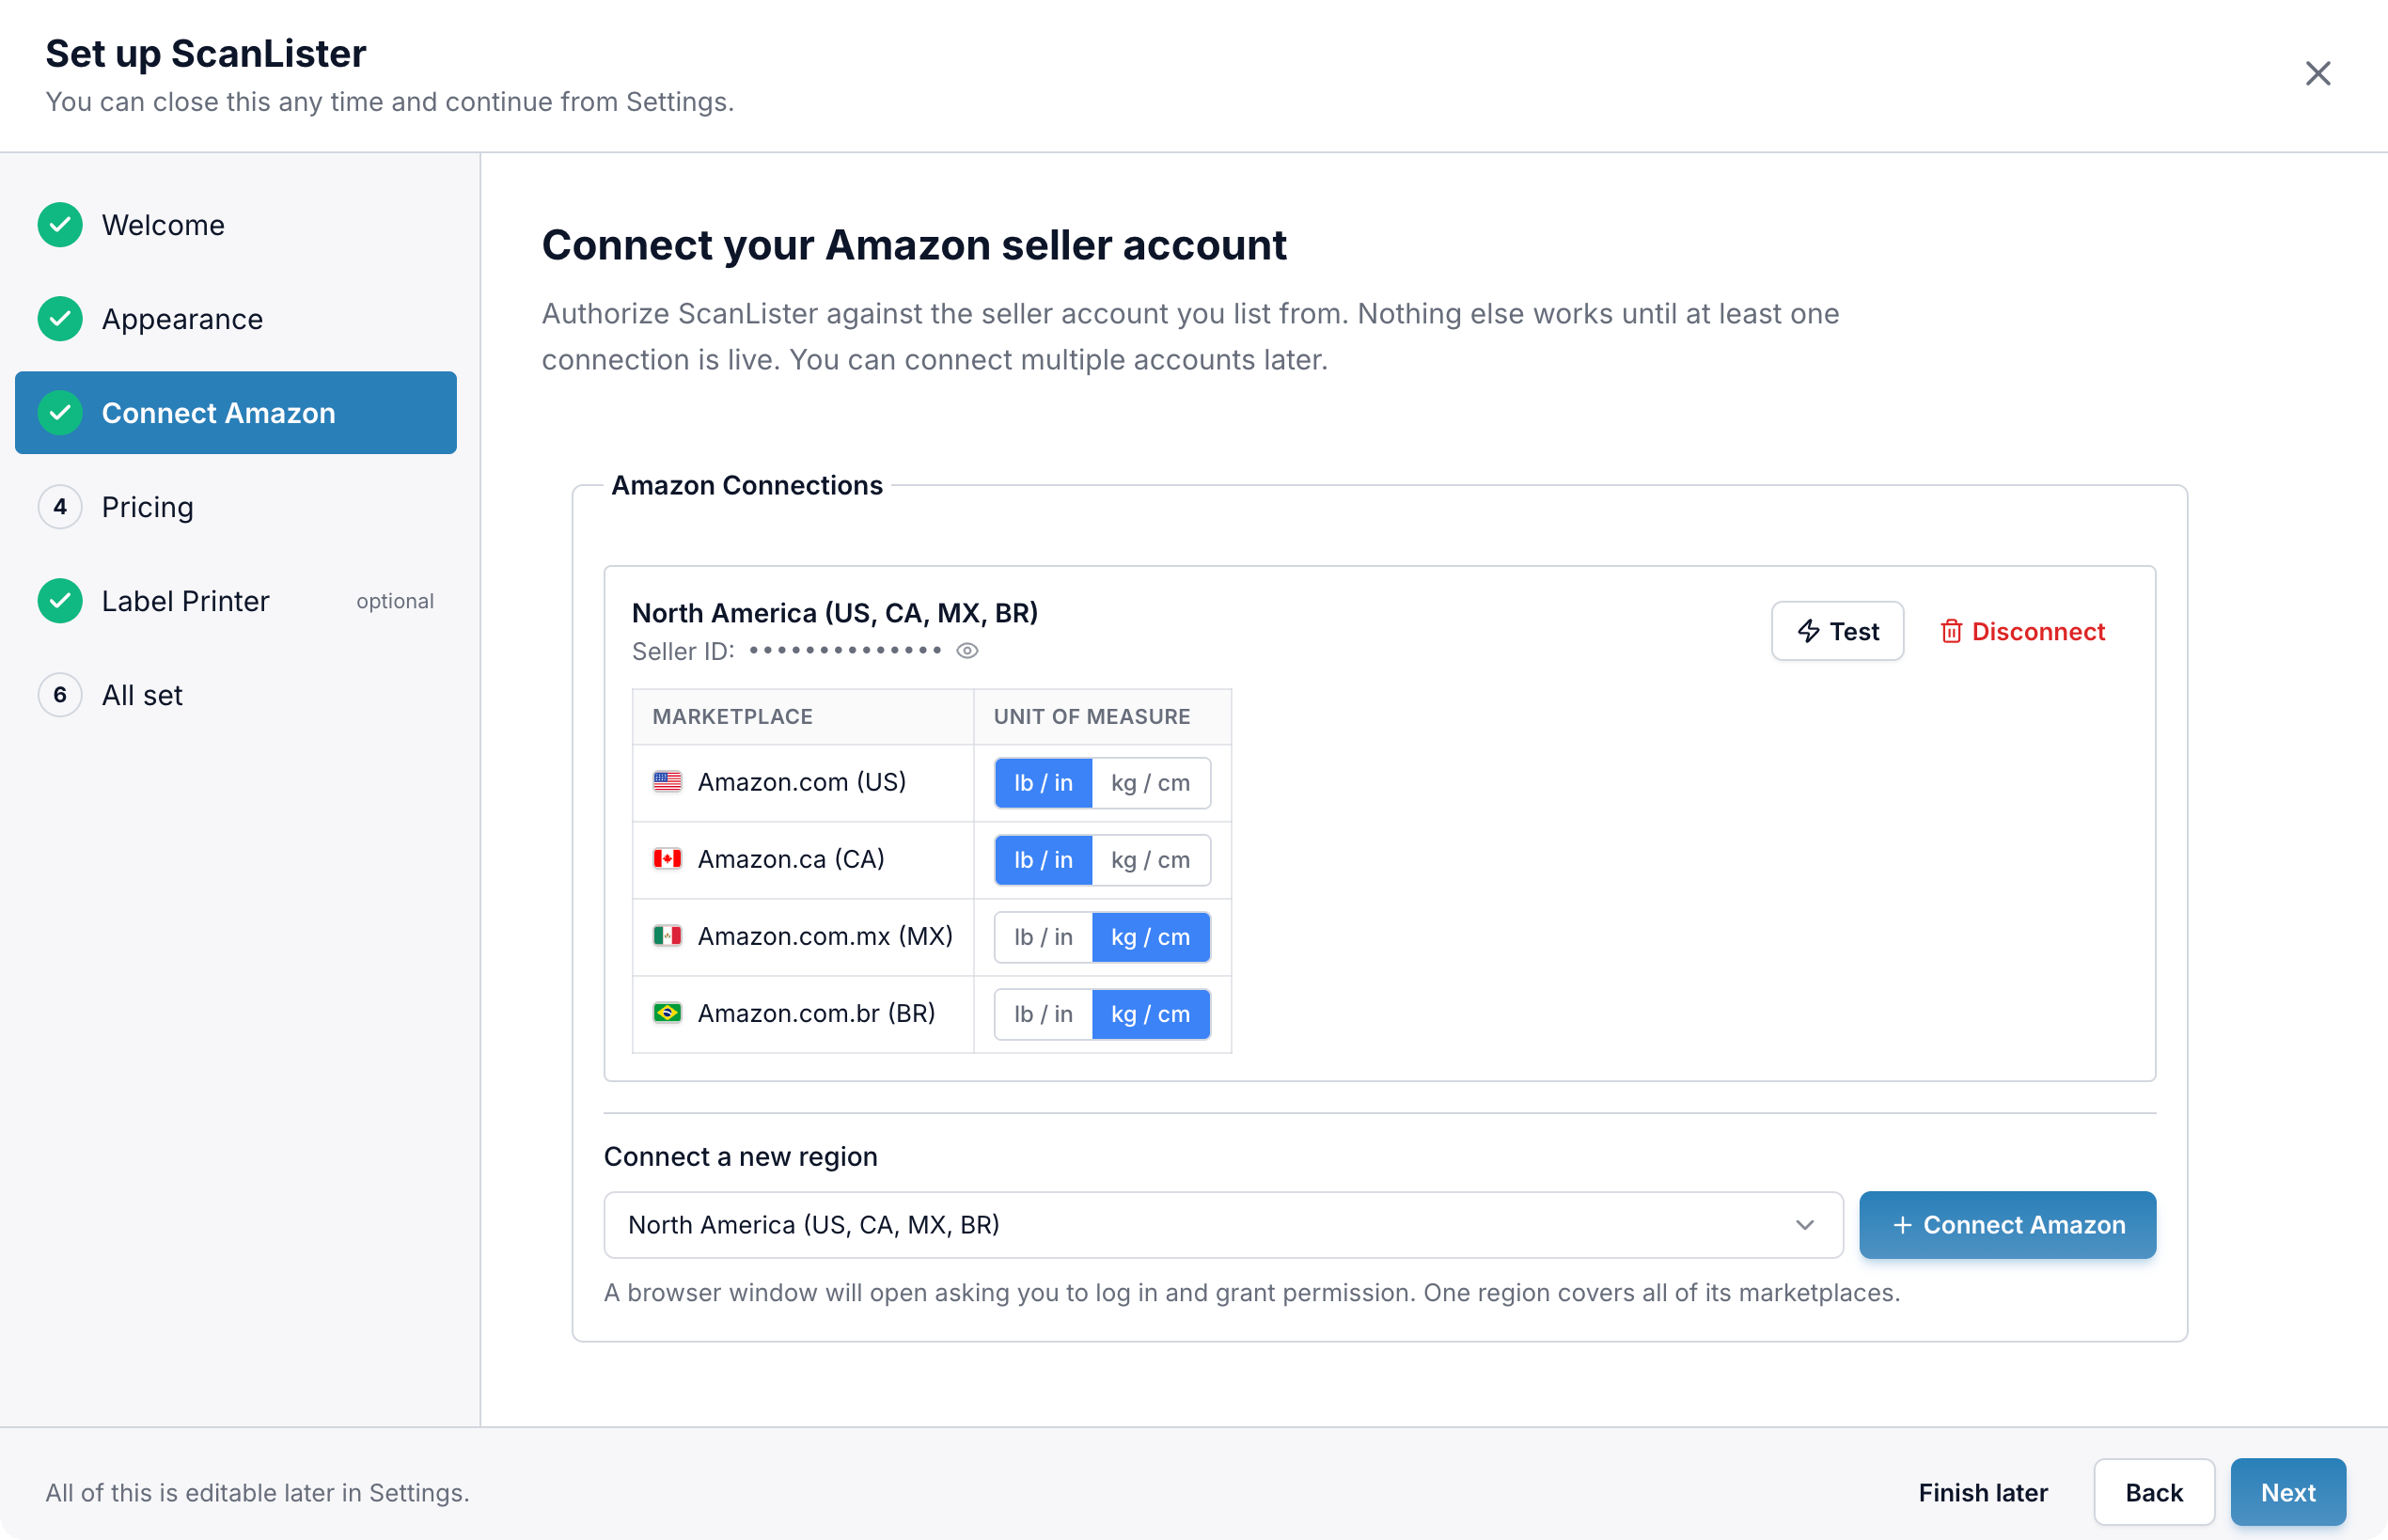
To add Europe, Australia or a second seller account, use Connect a new region — here, or later from Settings → Connected Accounts.
Pick a fixed price, or follow a live competitor signal with an offset.
The Source dropdown groups the signals by condition — Used, New or All — each offering Buy Box, Lowest FBA, Lowest FBM and Lowest ALL. Choose one and an Offset field appears: Used – Buy Box plus $1 lists every scan a dollar above the current used buy box.
The Backup Price is what ScanLister falls back to when your first choice isn't available — when an item has no used buy box, for example. It works exactly the same way.
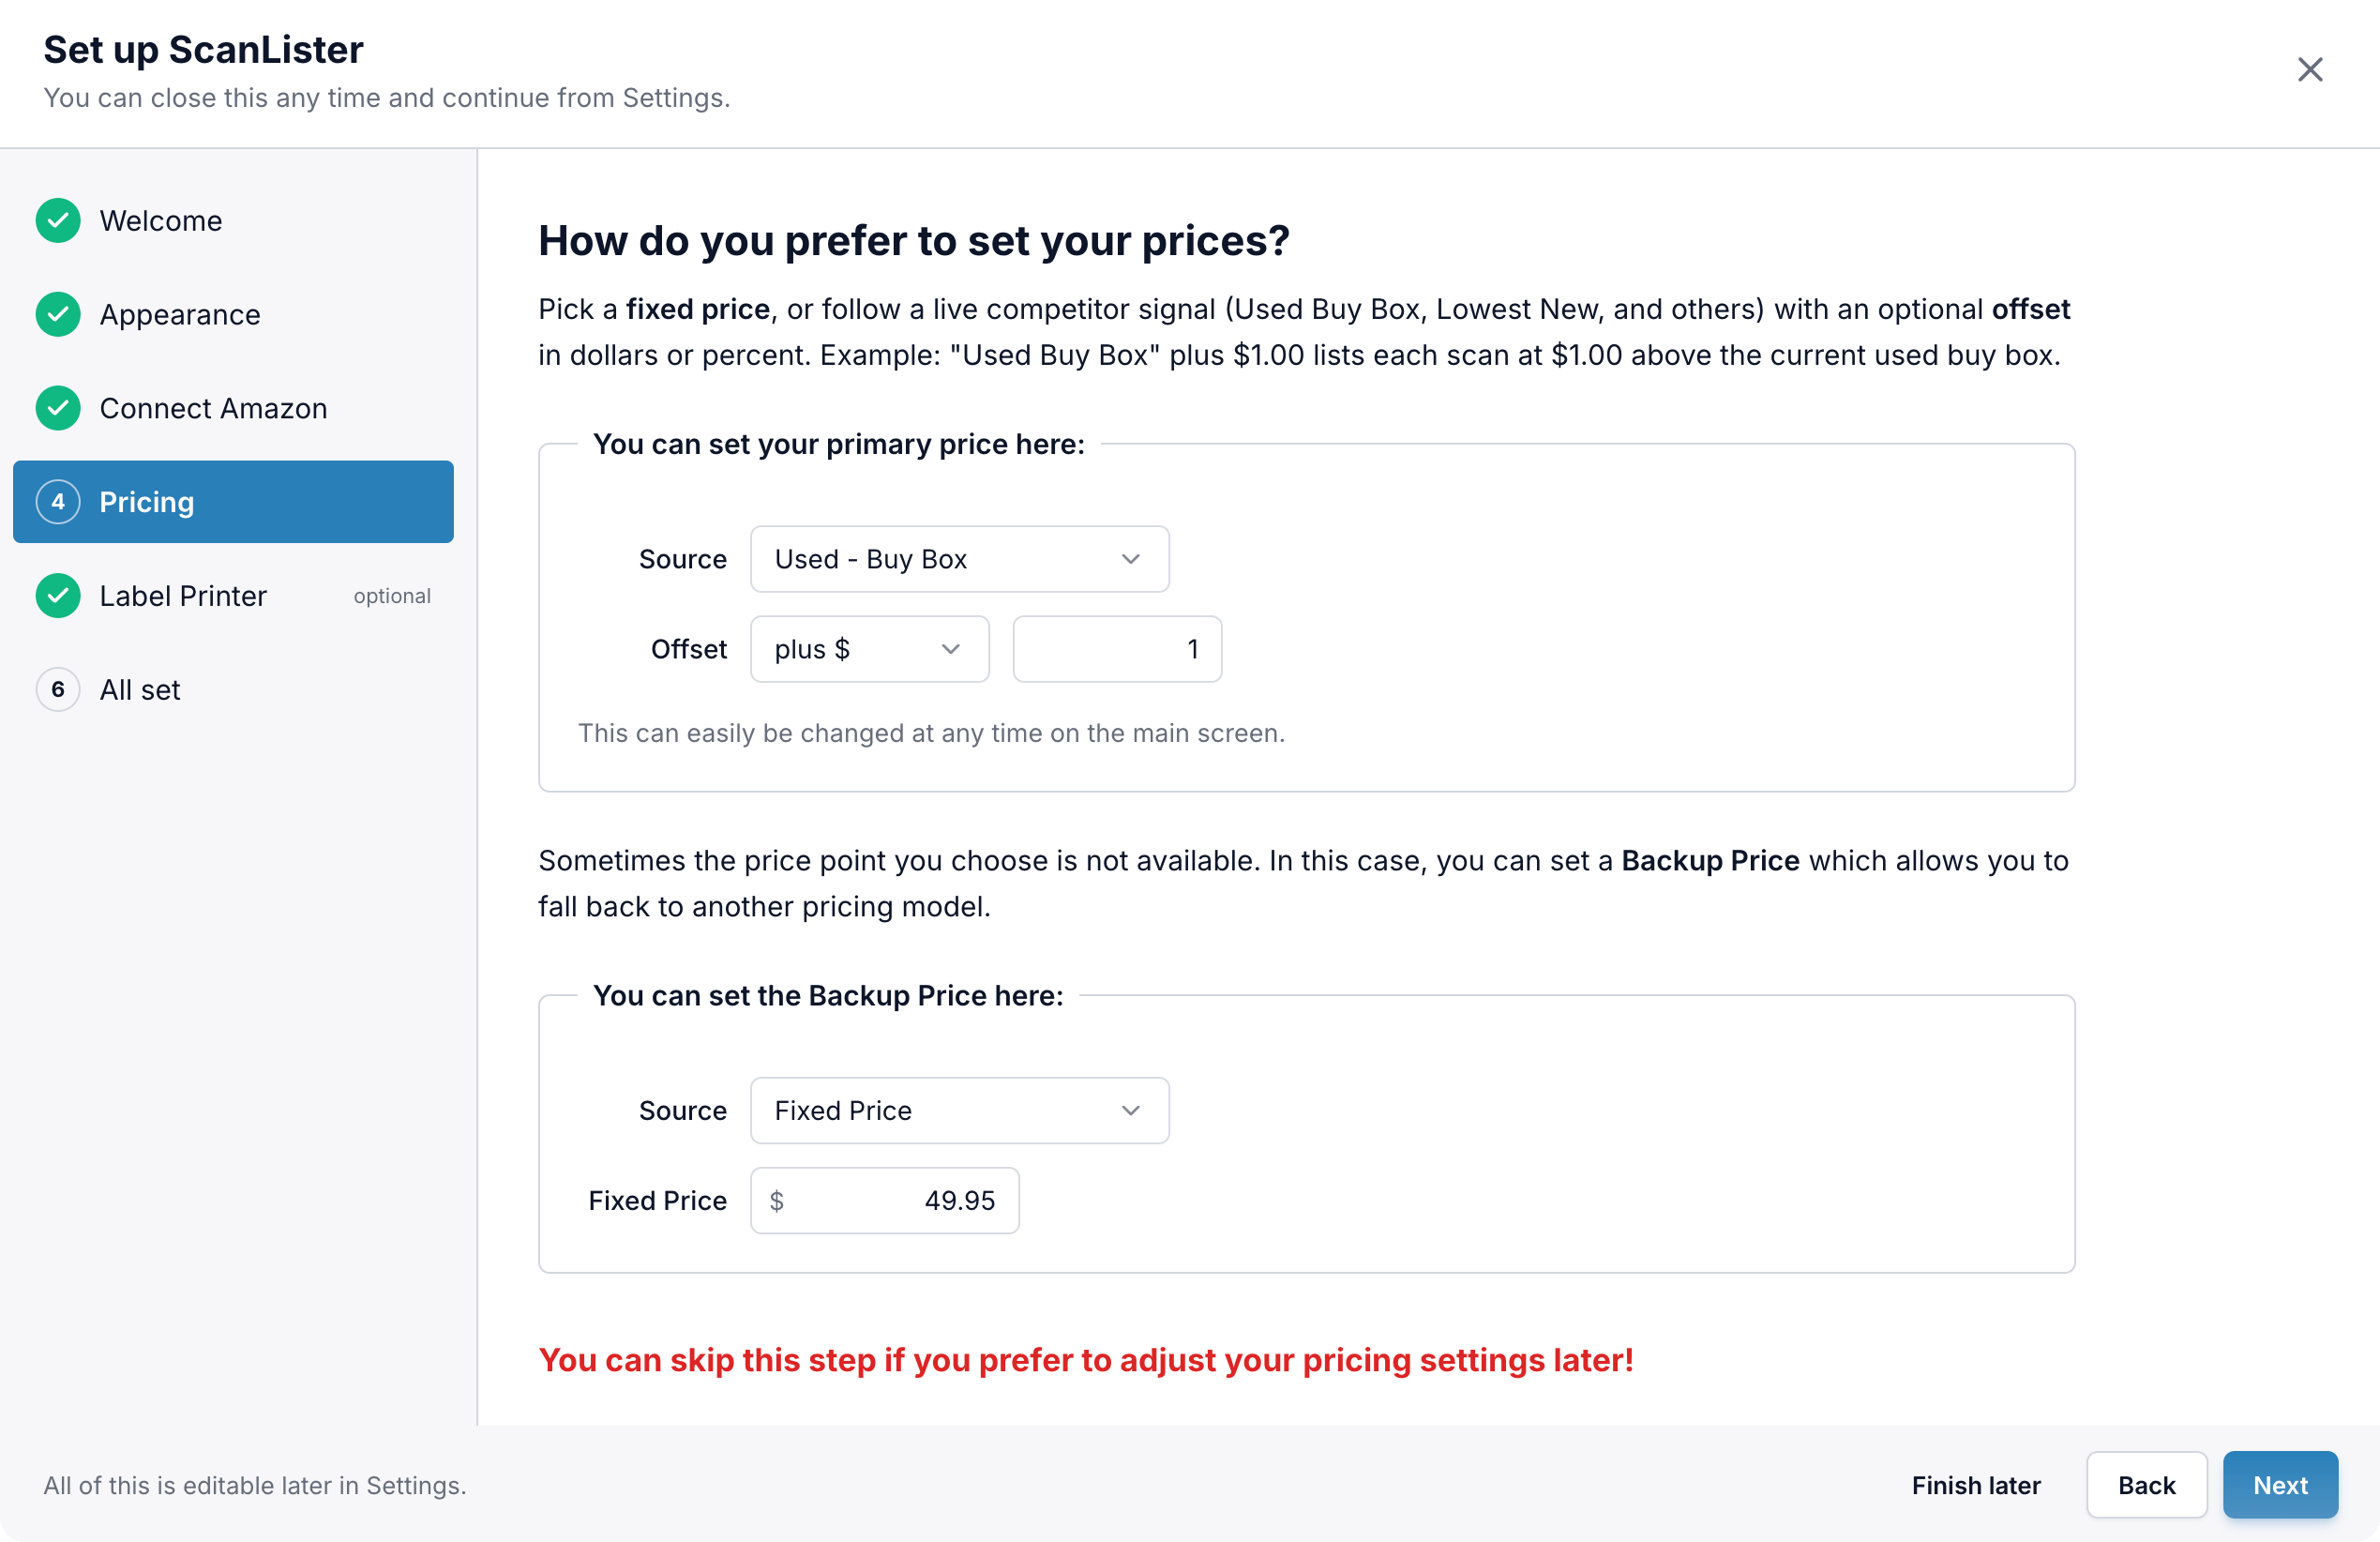
Skip this step if you'd rather work your pricing out later — it can be adjusted on the main screen while you scan.
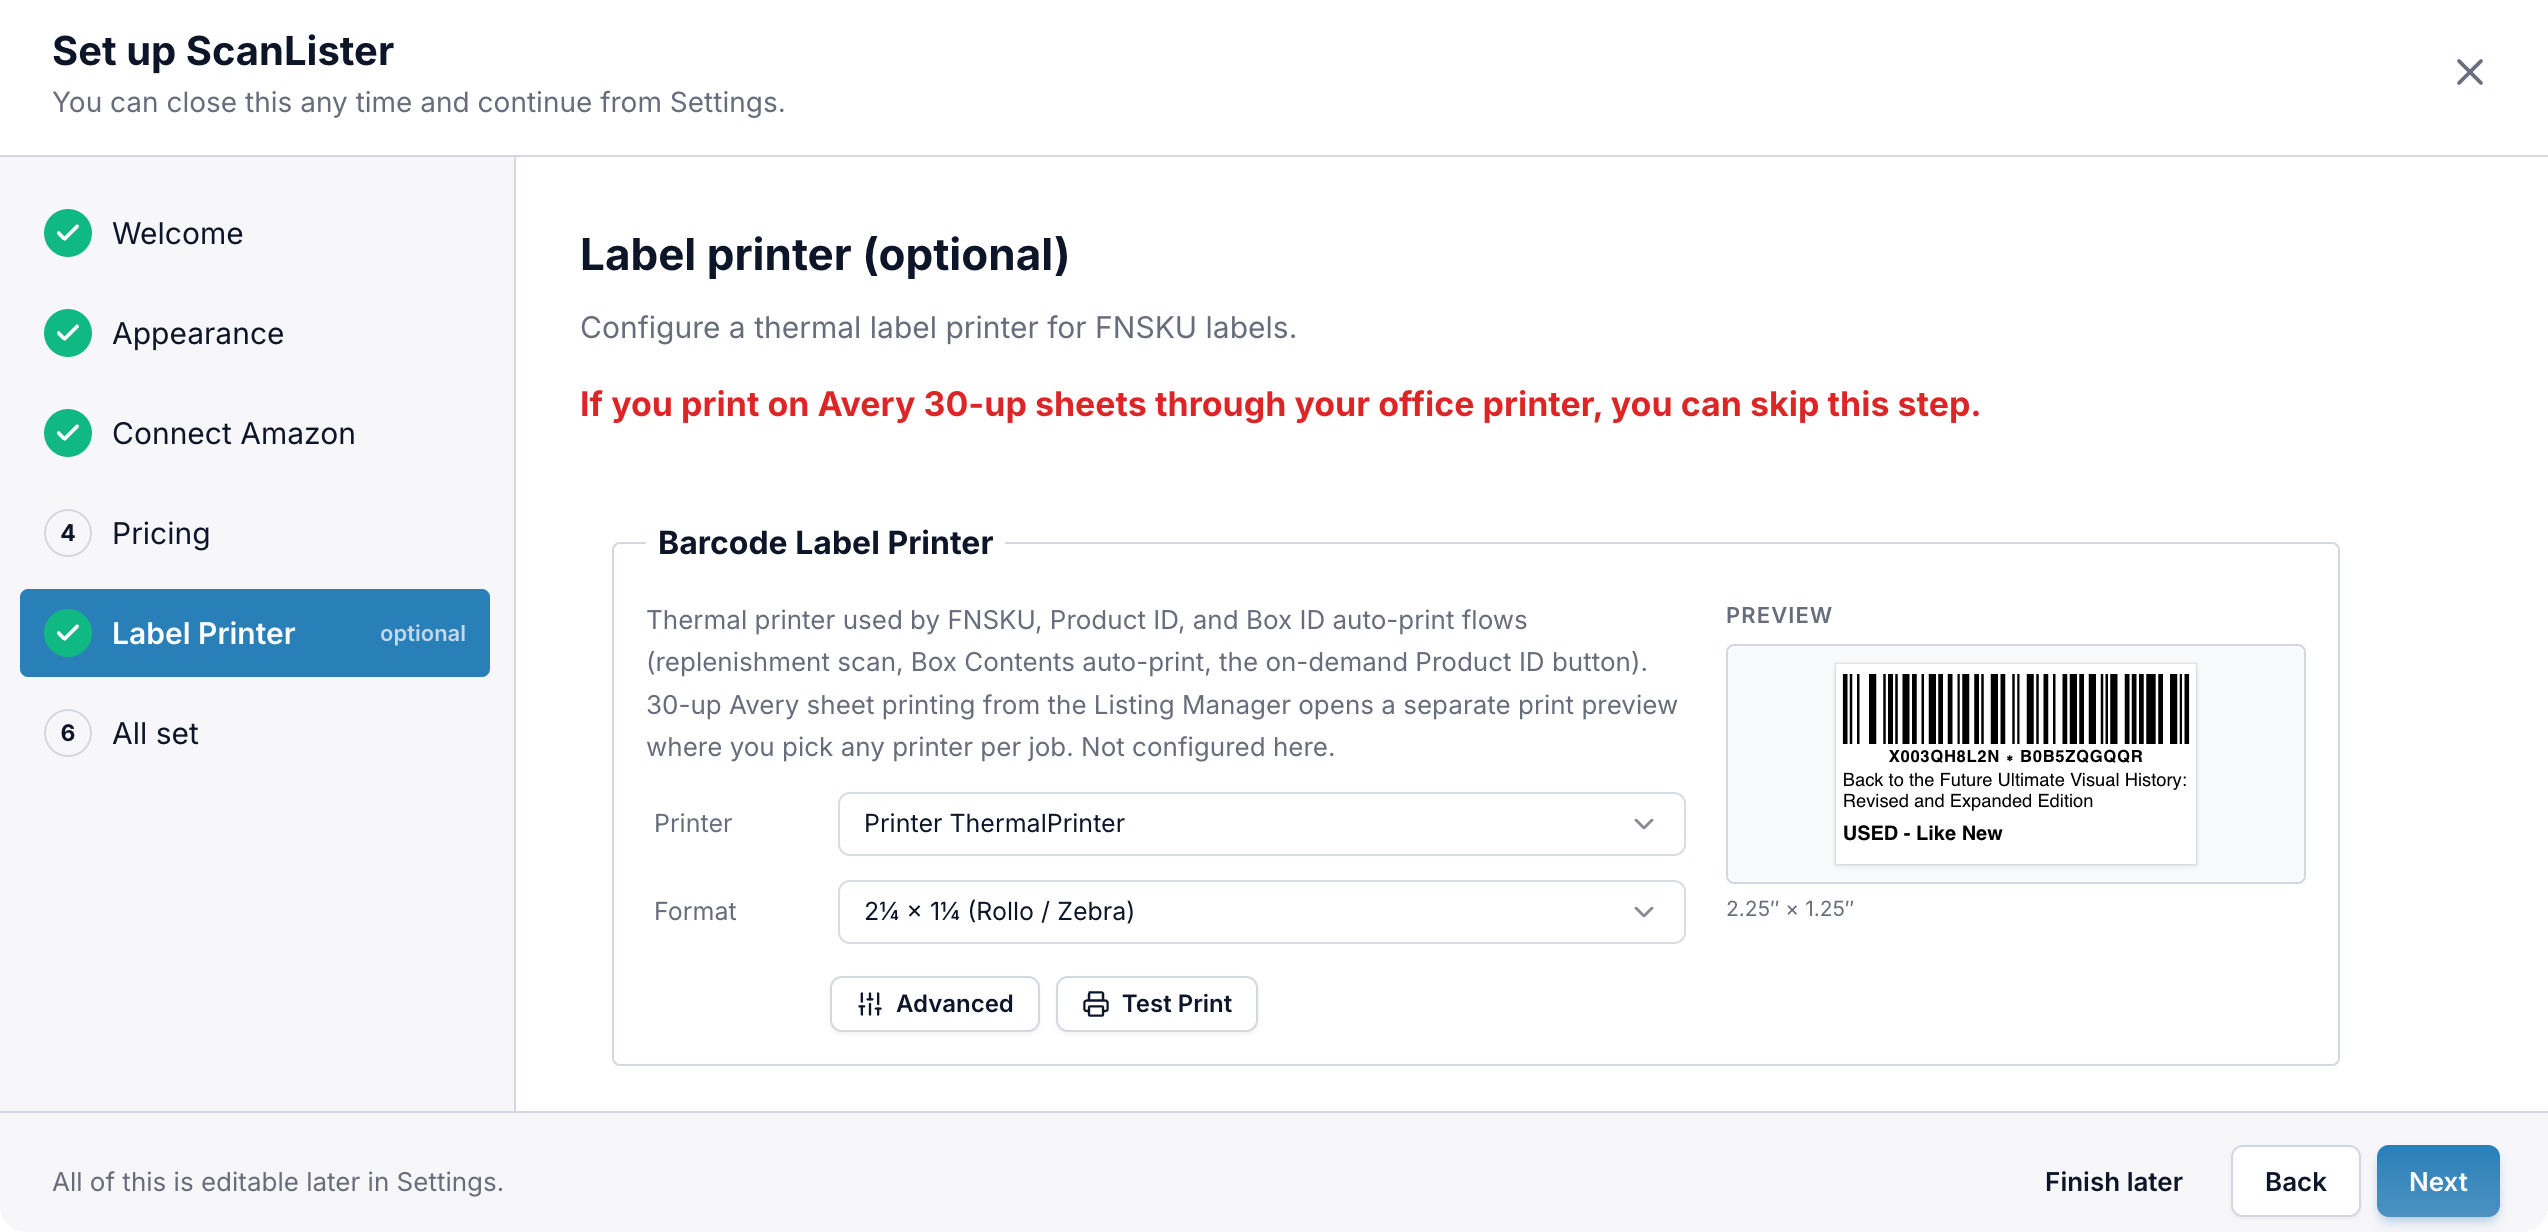
If you print FNSKU labels on Avery 30-up sheets through your office printer, skip this step. Sheet printing runs from the Listing Manager, which opens its own print preview where you pick any printer per job.
This sets up the thermal printer used by the automatic label flows: FNSKU labels on a replenishment scan, Box Contents auto-print, and the on-demand Product ID button.
Pick your thermal printer from the Printer dropdown, then set Format to match the labels loaded in it. Most FNSKU users want 2¼″ × 1¼″ (Rollo / Zebra); the list also covers Brother PT and DYMO stocks, plus a custom size. Finish with Test Print to check the alignment before you start scanning.
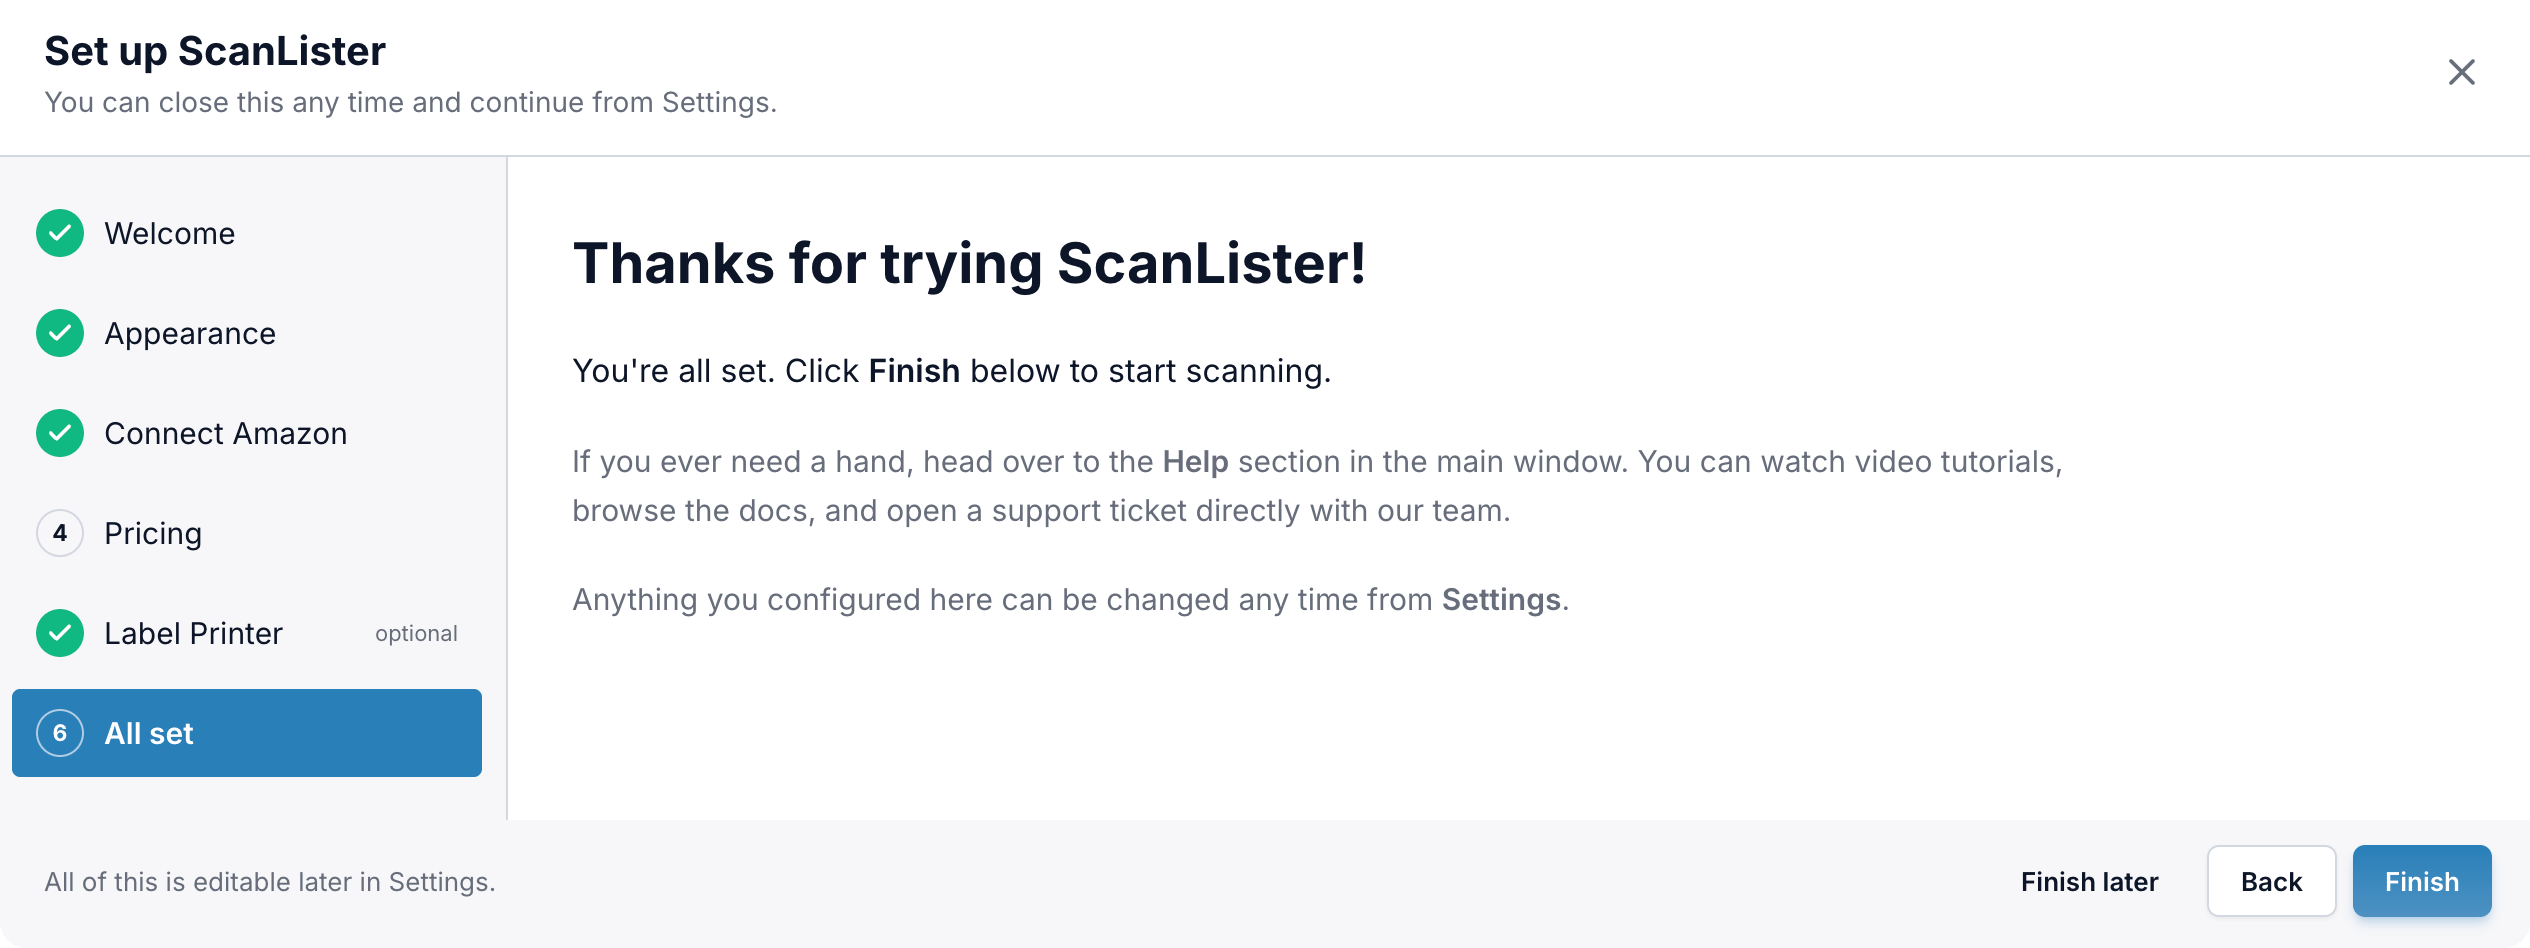
Click Finish and the main window is ready for your first scan. If you ever need a hand, the Help section in the main window has video tutorials, the docs, and a support ticket form that reaches our team directly.
Yes. Listing, pricing and inventory lookups all run against your Amazon seller account, so nothing works until at least one connection is live. Everything else in the wizard is optional.
The dropdown lists printers installed on your computer, so install the manufacturer's driver first and make sure the printer is powered on and connected. Then reopen the step — the list refreshes.
The same six steps, start to finish, in about a minute and a half.
